
As you know, real foil on custom stationery adds an unmatched element of glam, and takes your product to a whole new level. You also know, when advertising this gorgeous product, it is important to showcase it in a way that really lets it shine. Haven’t created your masterpiece yet? TOG.ink offers flat cards with foil and folded cards with foil as well as print pairings like the digital + foil save the date I’m working with here.
The Importance of Product Photography Basics
If you read my last blog post, How to shoot in window lighting, you understand it’s possible to achieve some lovely product photos simply using the light from one window. For foil printed products, we can apply all of those techniques, and simply add another element to the operation. Just remember, REFLECTION is the name of the game here.
When you’re adding a fancy (and let’s face it, more expensive) detail, I think it’s important to show a few different angles so clients can really see what they’re getting. I like the straight-on, overhead style to start with, because it clearly shows the product as a whole. So let’s start there!
GETTING THE RIGHT OVERHEAD SHOT
Step 1: Gather supplies:
- Camera
- Tripod
- Product set up
- White foam core (to reflect light onto the foil)
Step 2: Position the product.
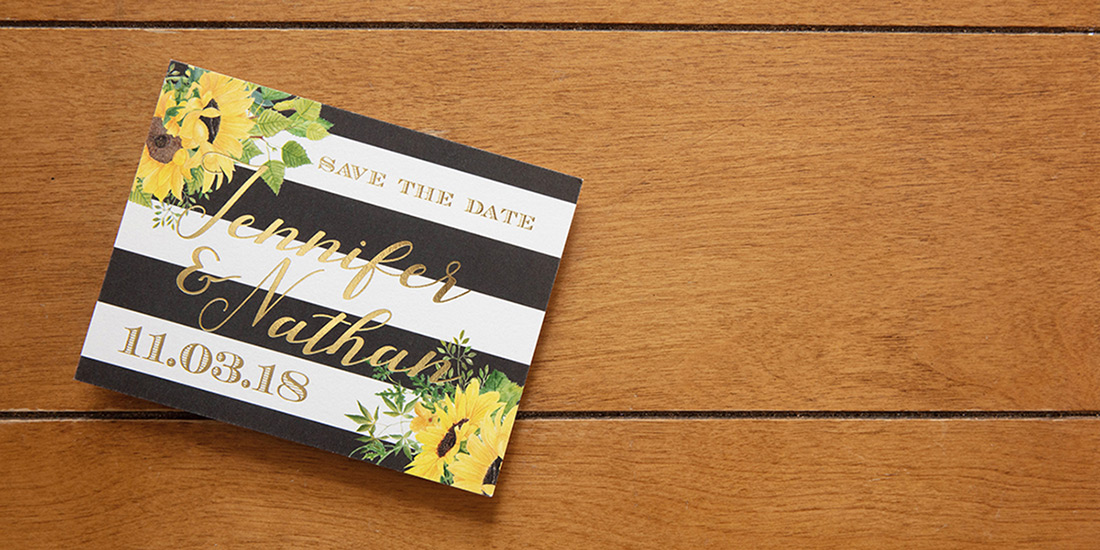
Something I do a little differently with foil stationery is position it to the side of the image frame. If your subject is centered directly under the camera, the foil will mostly reflect the darkness of your camera. If your product is on one side, you can hold your foam core next to the camera and the foil will reflect that instead. You can crop out the “blank” space, or use it as a place to put text!
Step 3. Experiment with lighting.
Much like window lighting, getting the perfect reflection on your foil is all about experimentation. Look through your camera’s viewfinder while you shoot, holding the foam core with one hand and hitting the shutter button with the other. The angle of your foam core (to the window and to the product) can make a huge impact on the strength and span of your reflection.
Luckily, what you see through the viewfinder is what you’ll get. Our attempts to get the perfect shot are virtually unlimited with digital photography, so keep on playing until you find the right angle — and push through the strain your arm is going through, holding that foam up in the air for so long!
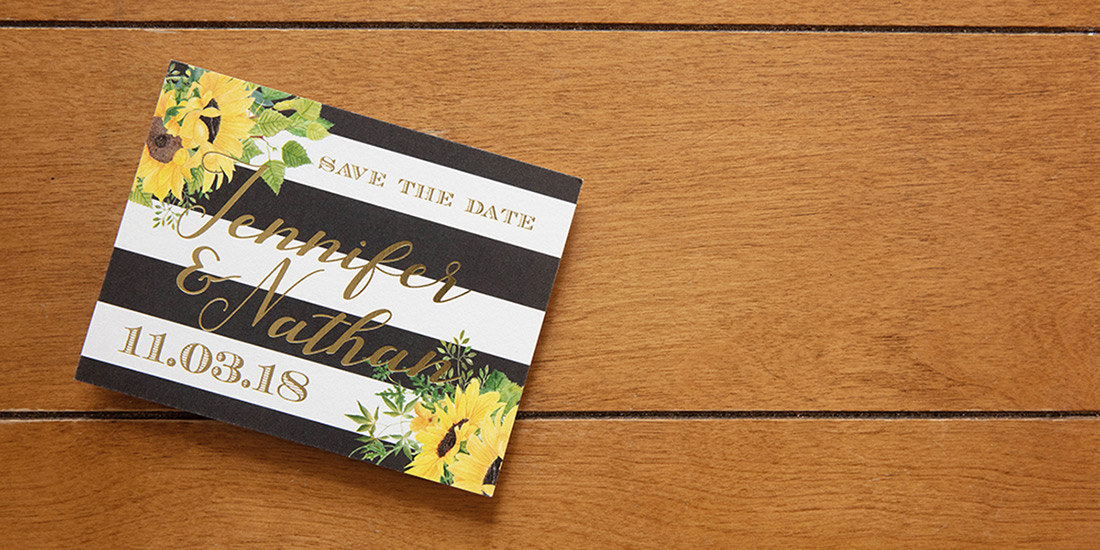
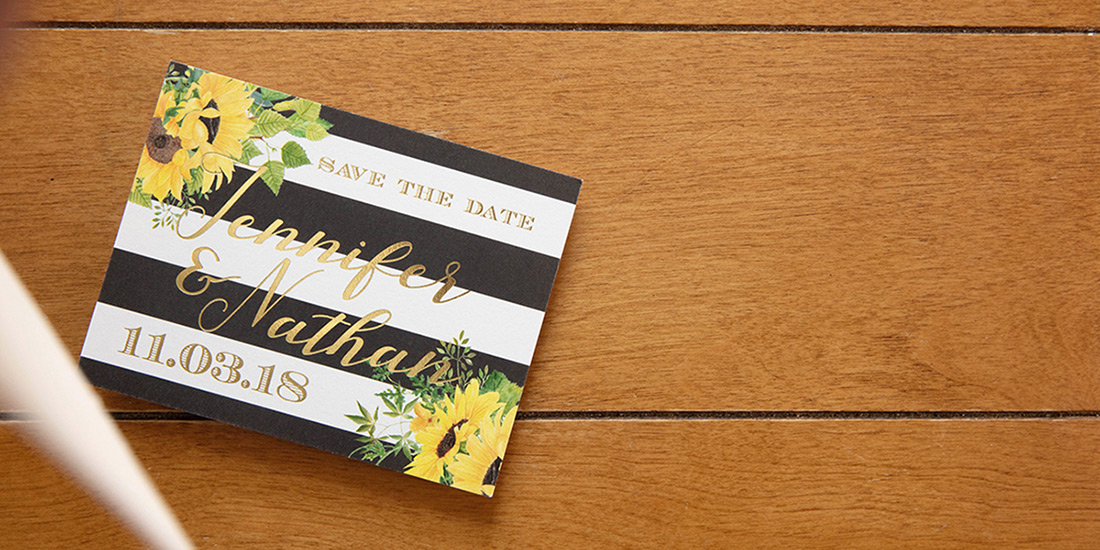
While I had my product to the side of the frame, I still couldn’t quite get the reflection I wanted without my foam core showing up in the shot. I could have repositioned my camera, but I decided to do a little Photoshop work instead. I simply selected the product from the reflection shot and dropped it onto the first shot. Voila! Lovely, shiny foil.
GETTING THE RIGHT MOOD SHOT
Step 1. Find the right angle.
For mood shots of your custom foil stationery, angle your camera to the product. This is where experimenting with reflection really comes into play. There are so many different options here, depending on the angle of your camera to the window.
Step 2. Work with your window lighting.
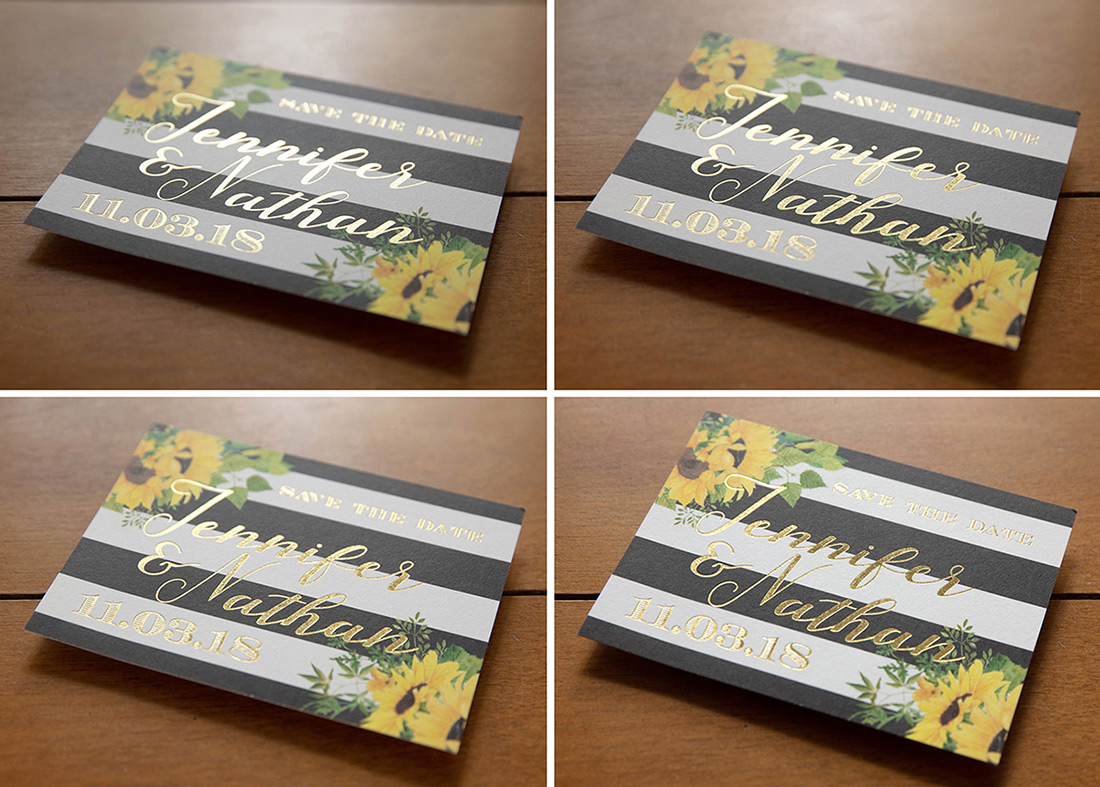
I started off with the window directly across from my camera. For the first shot in the top left of the grid below, my camera was at a very low angle. I continued moving it up after every shot. The window is reflecting heavily on the foil in the beginning, and it reflects a little less every time the camera is moved to a higher angle. No foam core was used simply because the window was doing all the reflecting for us.
You also might notice, since the foil is reflecting the window so brightly, the paper is very underexposed as a result. If we expose the paper properly, the foil will be so blown-out it will be almost unrecognizable. The higher the camera angle gets, the better exposed the paper can be.
Step 3. Experiment with foam core.
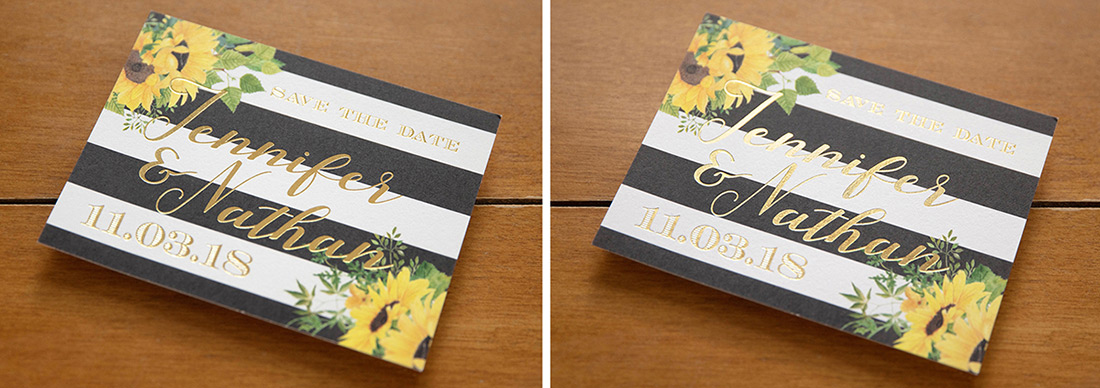
I then moved the camera to a high enough angle that the window was not reflecting onto the foil (see below). The foil didn’t look too dark this way, but it needed more gradient to get that shiny foil effect. So I again used the foam core to reflect window light onto the foil, which is a much softer look than direct window reflection.
EXPERIMENTING WITH THE CAMERA ANGLE
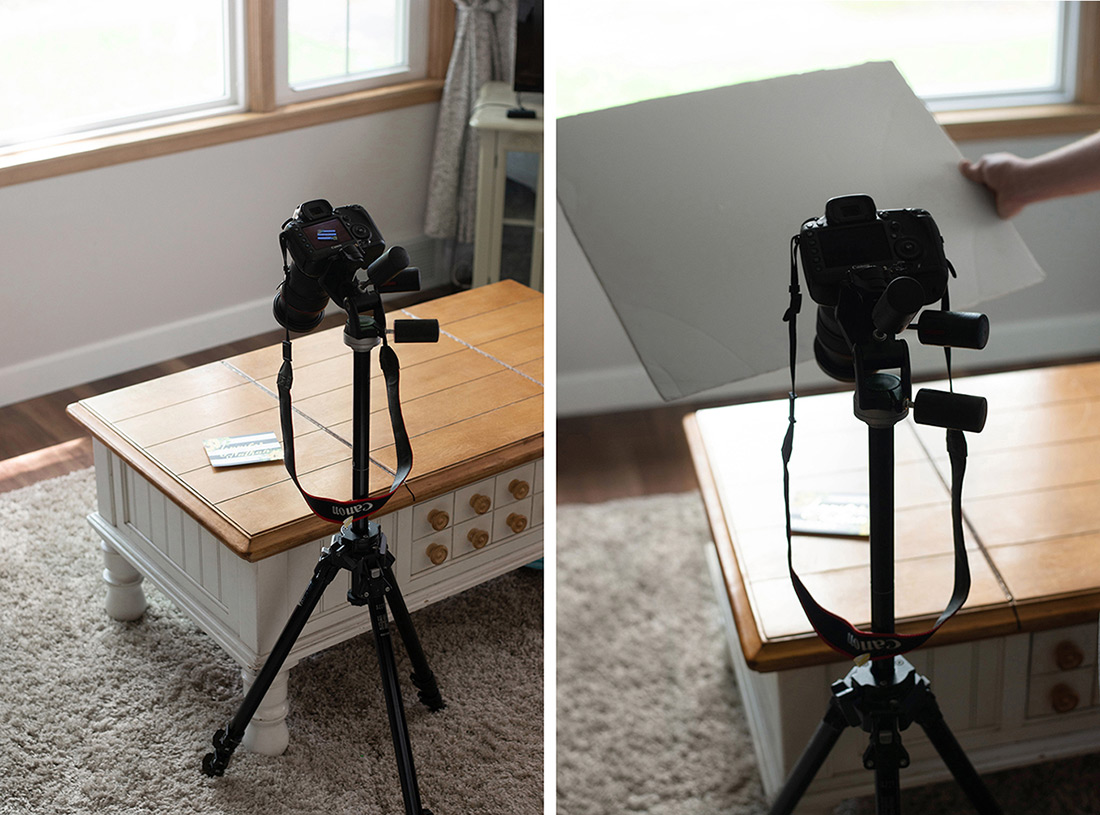
Below you can see the setup I was using, and the angle of the camera to the window. When using the foam core, it was angled slightly to the window, to reflect some of that beautiful window light down.
Then, to play around with angles once more, I changed the angle of the camera to the window (see below). This way the camera could still be quite low, without the foil reflecting light from the window. So I used the foam core once again to reflect onto the foil.
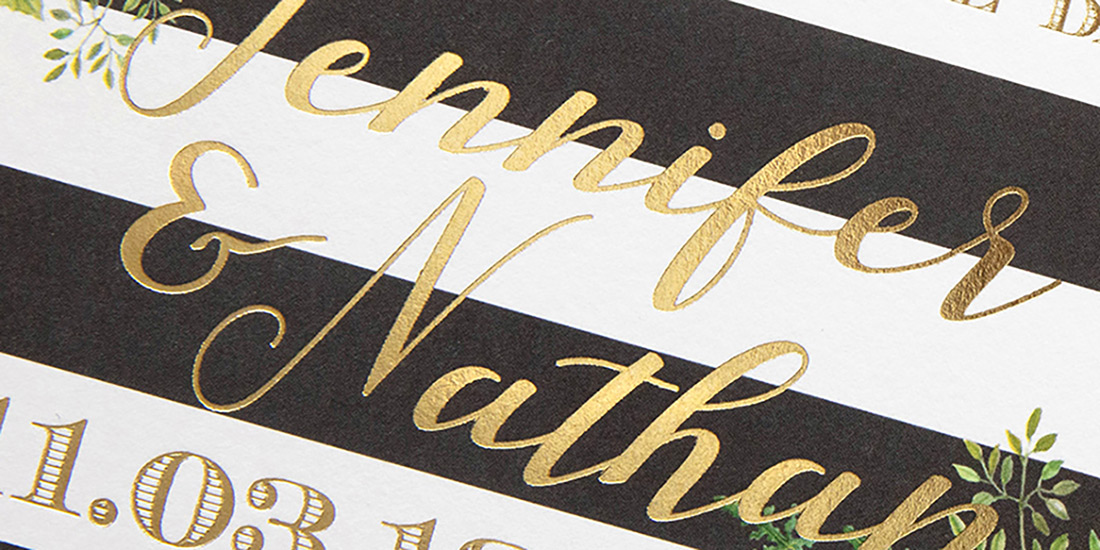
Now my goal is to get a great mood shot.
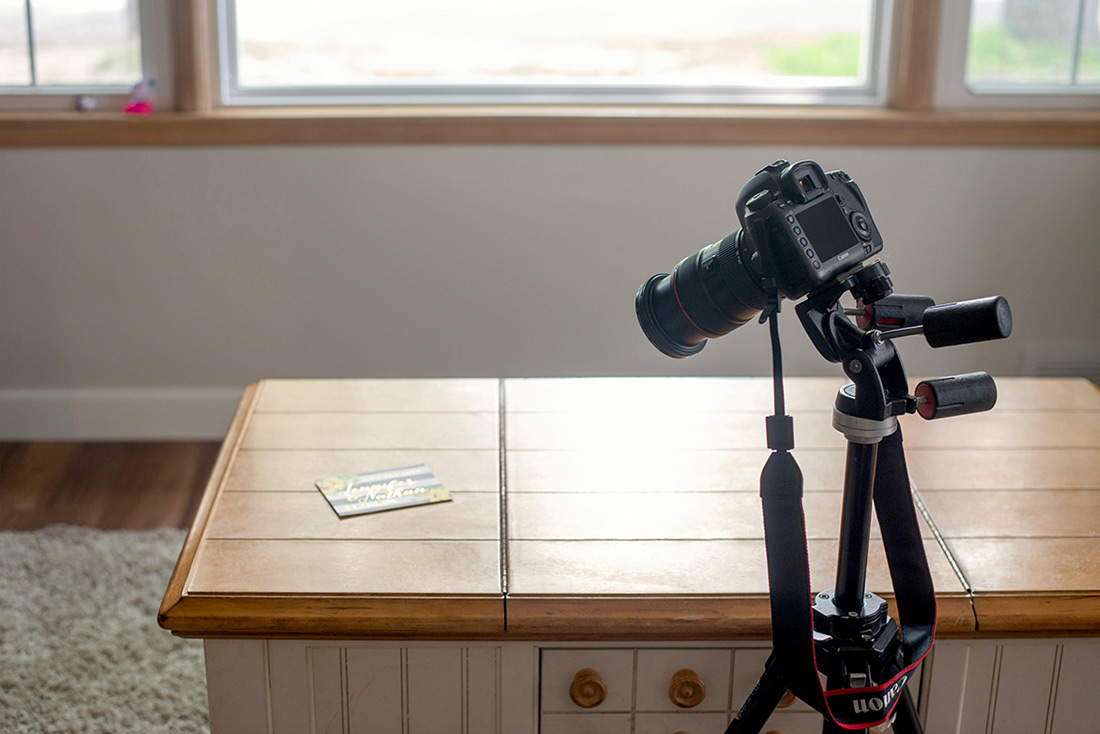
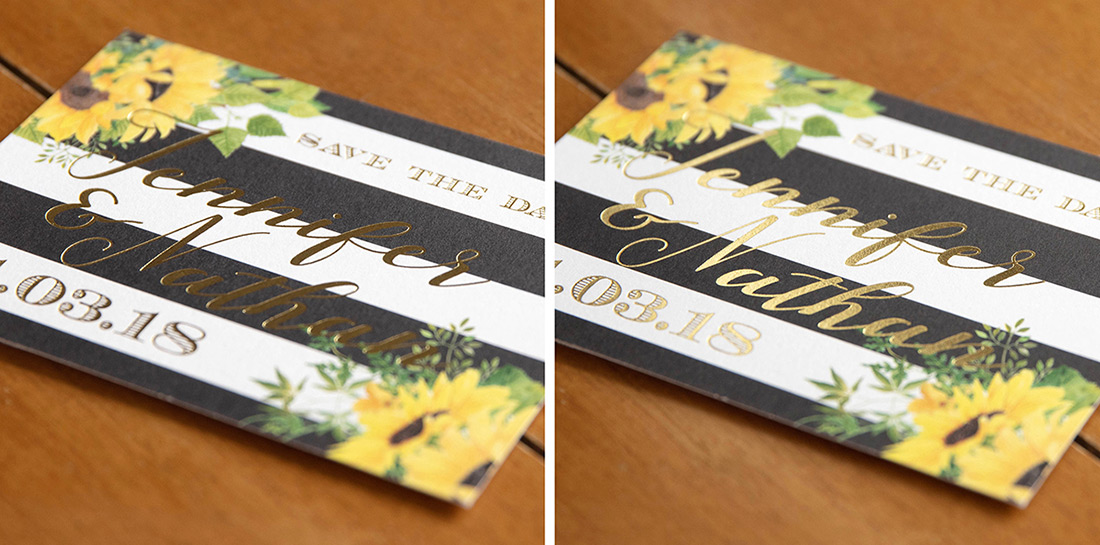
This image is much more moody, with a lot of blur going on in the foreground and background. It’s a nice detail shot that would pair well with an overhead shot.
When it comes down to it, always remember that there are so many variables in this process. Allow yourself plenty of time to experiment with light and angles, and you will definitely find a way to make your custom foil stationery shine.
Leave a Reply