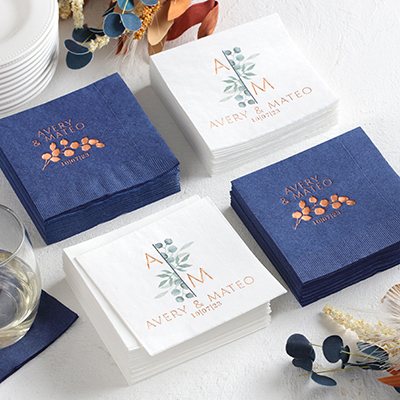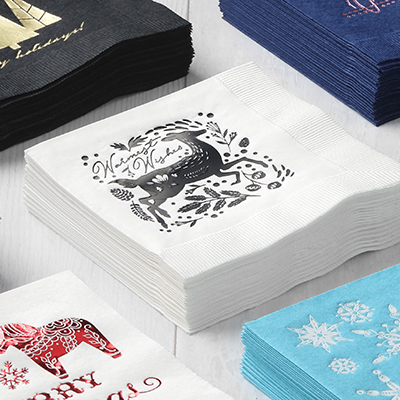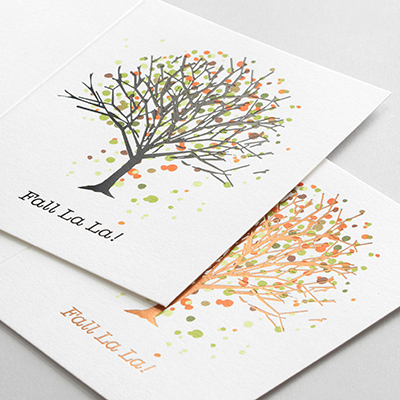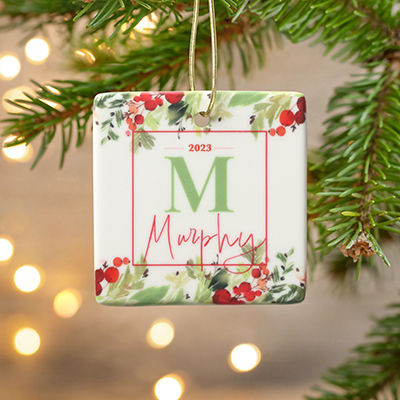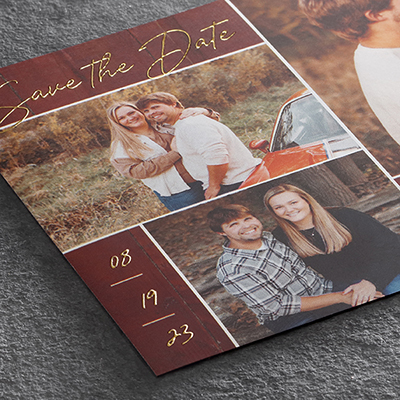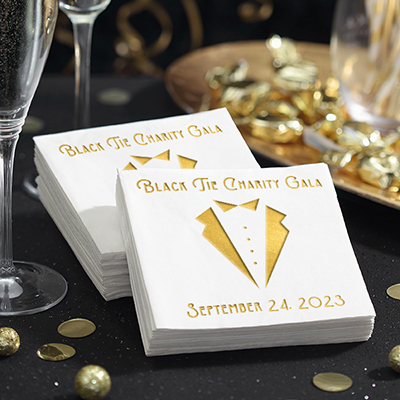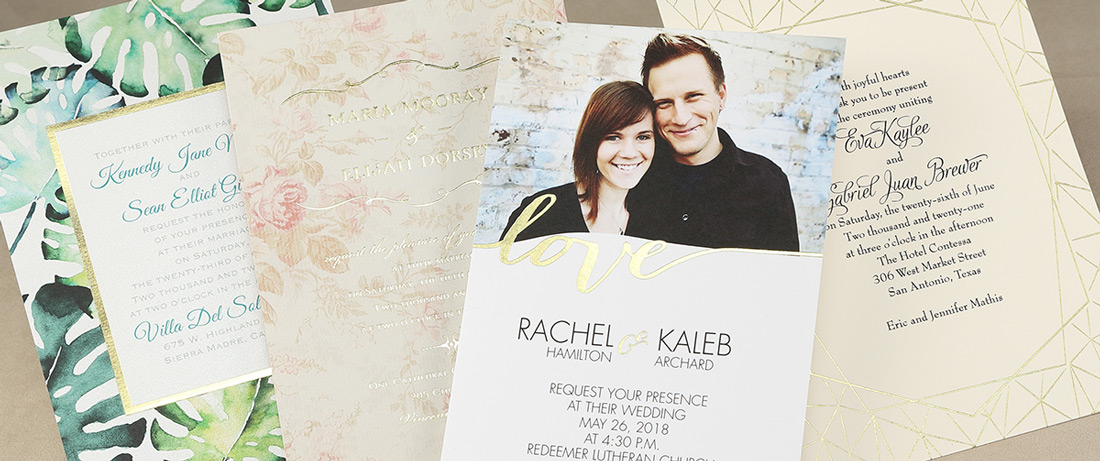
The gem of all printing processes, foil stamping adds star quality to ordinary products! The process includes a heated die stamped onto foil, which adheres to the surface of the paper and leaves the design of the die behind. We love what foil can do when added to a design, from putting emphasis on names to accenting other design elements to fit the theme of your event. When you add foil to a card, it leaves a lasting impression! Today we will dig into the best practices for adding foil to your design.
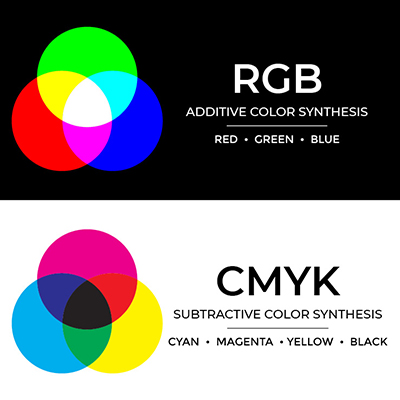
Designing for foil is similar to designing for letterpress. Digital print mixes toners to create a color, but the foil color selection is pre-determined because we use physical rolls of foil. Since we can’t produce any color of foil, we suggest that you take a look at the available foil colors here. Starting your design with a foil color we offer gives you the reassurance that your design colors will print exactly as you expect. If you design with a custom color, you will need to choose a similar color from what we have available. We know how important color can be to a design and a similar color may not be close enough and change the design you had in mind!
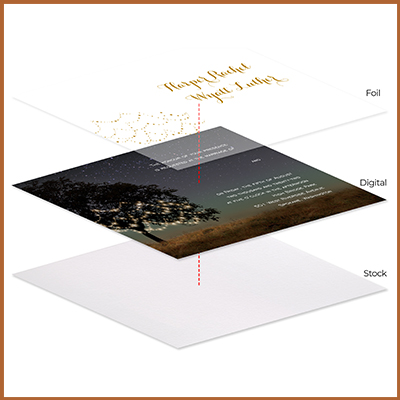
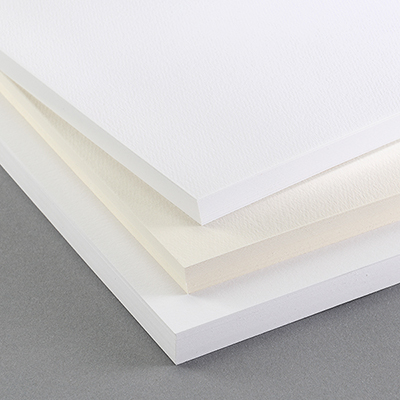
TOG.ink can print foil on a variety of different blank stock sizes and on top of digital designs. Before designing, you will need to decide the size and other processes you may want to pair with your foil. Once you determine the stock size and print process(es), you can get a template on each product’s detail page to be sure the final result will come out exactly as desired!
Once you start designing, there are a few things to remember. We don’t advise using fine lines (less than 1pt) or very small fonts (less than 5 pt) due to the die not being able to pick up the foil every time. If the die doesn’t pick up the foil, the design or copy will be broken or have missing parts. Check out Artwork Specifications for some more details.
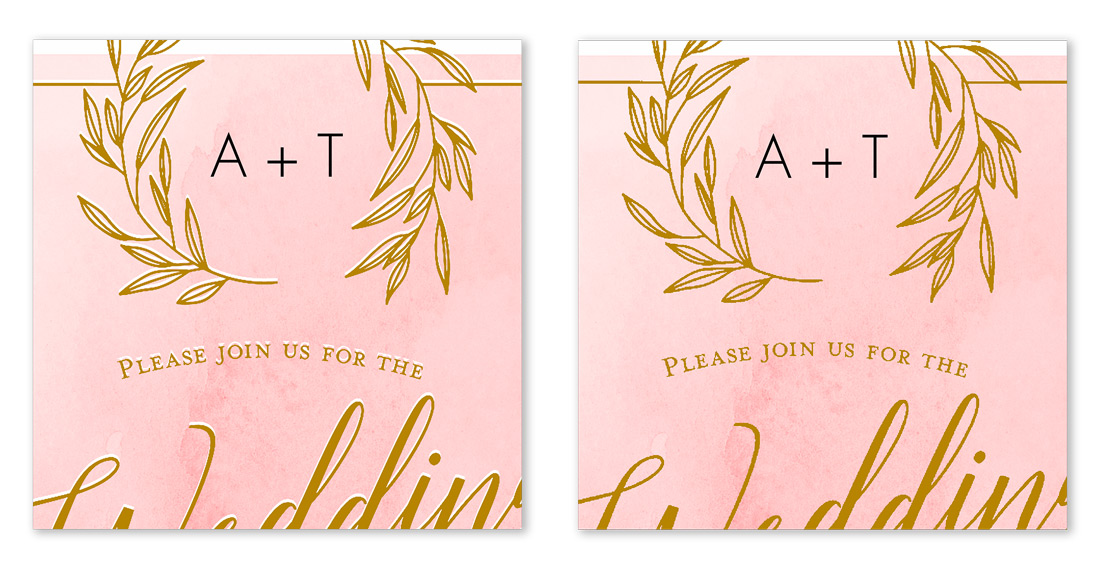
When designing for foil stamping on top of a digital design, you want to keep the digital art behind the foil since the registration has about 1/16” play. This slight variation in print accuracy can cause the foil stamping to be off just a hair, which can result in white showing around the foil. Foil can print on top of digital, so be sure the area below the foil design has the digital design and you’ll avoid these slight alignment issues.
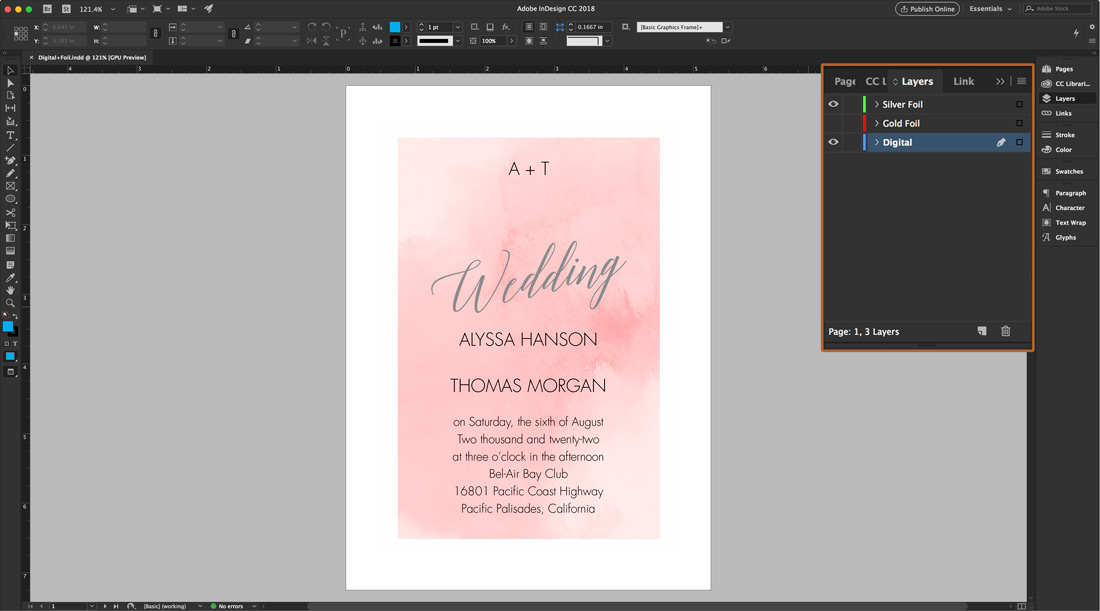
When you finalize your design, before you upload your artwork, the artwork needs to be converted to 100% black (for foil artwork only) because it is being used to create a die. For two foil colors, a good practice is to separate each color into its own layer so you can easily turn each layer off to isolate each foil color and convert to black.
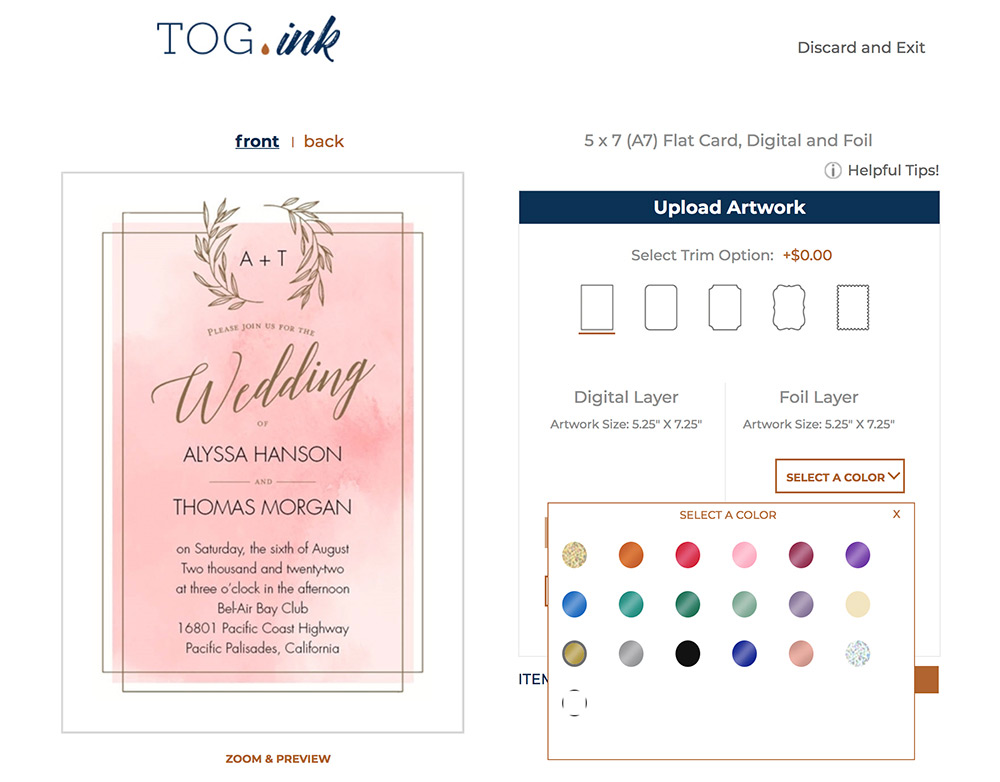
Once the art is uploaded to TOG.ink, you can select the desired color and the site will generate a preview for a final check before it is sent off to press.
 They may seem simple but these tips can take a lot of stress out of the design process. Knowing the problems that can arise and having the ability to prevent them creates a much happier design process and gives the peace of mind that going from idea to print will be quick and easy.
When saving/exporting your file:
- Choose the “high quality” option.
- Name your file with letters and numbers only (no special characters).
- Uncheck “preserve editing capabilities” (if using Adobe Photoshop or Illustrator).
- Hide all non-art and template layers.

Author : Joshua
Years at The Occasions Group: 8 yearsFavorite Print Process: Letterpress
Secretly I’m really good at…not many people know that I curl but I wouldn’t say I’m really good at it? I really enjoy it though!

