Step 1. Choose Your Print Pairing
When you want to use multiple print processes on one piece, we suggest checking out the very helpful Print Processes & Pairings Cheat Sheet to help you choose. You can also refer to the dropdowns on our homepage but the cheat sheet offers a nice visual.
Step 2. Review the Art Specs Grid
Once you’ve chosen a print pairing, review the design guidelines for each print process on the Product Details page or in the Art Specs Grid. When designing for multiple print processes, it is important to remember that the rules for each print process still apply.
Take note! Digital print works with just about every print process. Why? Digital is a flat printing method so the limitations are far less. The remaining steps in this blog post are geared toward the other print processes since they require more attention to detail.
Step 3. Think about Registration
When designing for letterpress + foil, letterpress + thermography and foil + thermography, designers need to take into account the slight movement of the press during the run because this is what causes registration issues. Learn more about this in our blog post, When Does Registration Become a Problem? The Art Specs Grid mentioned above will guide you but just remember that you will need to have at least ¼” between each process.

Step 4. Convert to 100% Black
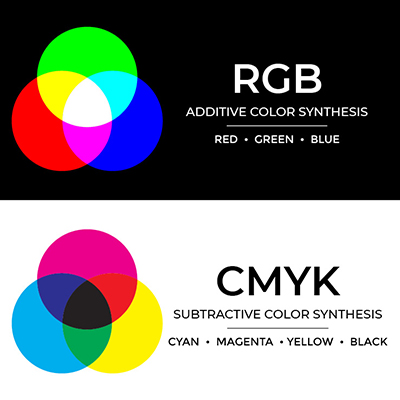
Before you upload your artwork, convert it to 100% black bitmap. Why? Although digital presses print color by mixing a combination of four ink colors — cyan, magenta, yellow and black (CMYK) — other print processes use a pre-mixed ink or foil color and die. Your artwork PDFs are sent to a special die maker, which reads the 100% black bitmap artwork to create a raised surface on the die. The ink or foil is then applied to the die for printing.

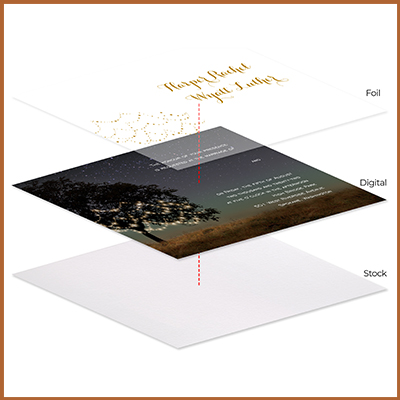
Step 5. Upload Two PDFs
You will need to upload one PDF for each process. Each PDF will need to be vector or 600 dpi and 100% black. We suggest separating each process into its own layer in your file so you can easily separate the colors after they are converted to black.
Step 6. Save/Export Your File
The file will need to adhere to the following rules:
• Choose the “high quality” option.
• Name your file with letters and numbers only (no special characters).
• Uncheck “preserve editing capabilities” (if using Adobe Photoshop or Illustrator).
• Hide all non-art and template layers.
Step 7. Upload to TOG.ink
You will select the desired ink color (unlike digital) and the site will generate a preview for a final check before it is sent off to press. You’re going to love the end result!

Author : Joshua
Years at The Occasions Group: 8 yearsFavorite Print Process: Letterpress
Secretly I’m really good at…not many people know that I curl but I wouldn’t say I’m really good at it? I really enjoy it though!